 This week: ERASE YOUR FUCKING PENCILS!!
Click on small images to make them large.
People who use red or blue line pencils to pencil their comics need not read this unless they're just curious, as none of this applies to them.
One of the worst plagues of student work is unerased pencils. I have never understood this. If you had a house painter come over to do your walls, you wouldn't be satisfied with his job if he left bits of painter's tape and plastic everywhere. If you were the owner of a new building you'd be royally pissed if the construction crew took off and left the place covered in scaffolding, regardless of how nice a job they did underneath. Paradoxically, the people who seem to have the worst time getting over this are almost always good artists, who seem to feel like their good draftsmanship should exempt them from this particular piece of gruntwork which they find so boring. "I DID erase the page!" they'll squeal, pointing to a page covered with a dusty speckling of unaddressed segments of pencil line. Fuck you, the job isn't done yet. If you're going to claim to give a shit about your job, don't go handing me a suit covered in loose threads and call it done. And double fuck you if you hand your filthy, unfinished work to someone else to scan and clean up for you, like I had many do to me when I edited Inkstains at SVA.
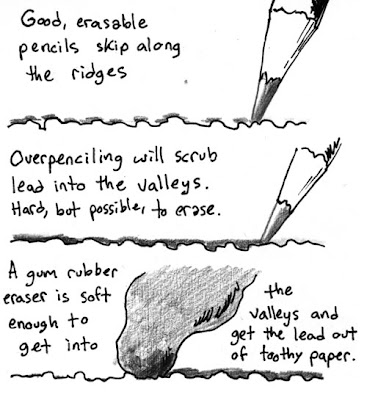
Oh, and don't go thinking you'll get away with the old excuse "I penciled too hard and I can't erase it." I'm going to show you how to erase lines that look like they've been carved into the page by a pencil-wielding Jack the Ripper.
Now that I'm done ranting, let's begin the lesson:
No matter who you are, you should probably be penciling lighter than you do. I should be, and I don't know anyone who doesn't need to also. It's easy to build up tension as you work and start pressing hard, or to lose focus and start re-working part of a drawing over and over instead of stopping and really thinking about the next move. In the same, semi-conscious way you'll keep reminding yourself of your light source as you ink, you should train yourself to think once every few minutes "am I going to hard in my pencil?"
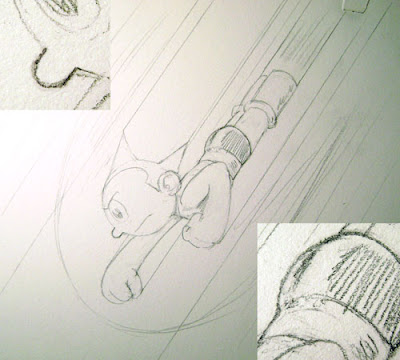
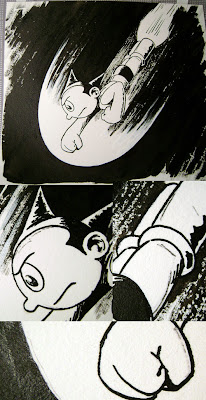
 Here's a drawing of Astroboy I made. You can see that I started to overwork the nose and the curve of his trunks. When you see the pencils getting this dark, STOP. NOW. Put the pencil down, move to another part of the drawing for awhile, and THINK about what you're doing wrong. Maybe do some practice sketches on another piece of paper. Usually when you have a detail that won't work it means the surrounding structure is wrong and needs redrawing, or that the detail is in the wrong place. If you keep re-working you'll begin actually cutting into the paper. Don't work out your problems by digging a trench into your paper.
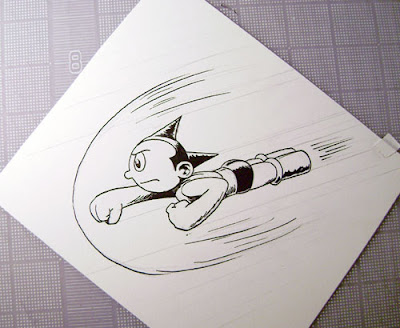
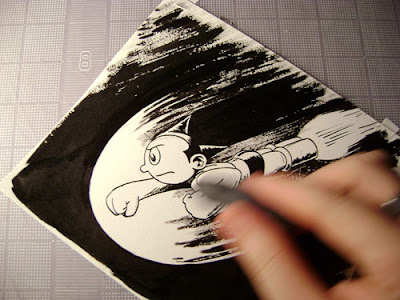
 I thought I'd include this photo of the inks partway done just for kicks.
If you haven't penciled TOO hard, you should be able to get all your pencils off with a gentle but thorough scrubbing with a gum rubber eraser. Scrub just hard enough to pick up the pencil, but be careful not to overdo it and take off ink. Look at the page up close, and examine every inch to make sure there isn't a pencil like you're mistaking for an ink line. Your scans will thank you, and I'll explain why a little later.
Now let's say you DID press too hard, and you have deeply carved lines that won't erase no matter how much you erase over them, like this:
 They're usually along edges you've re-worked, and for that reason they're often dangerously close to delicate linework or important but hard to render objects like faces.
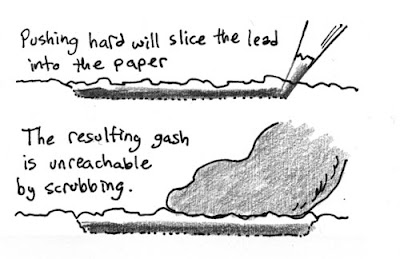 If you scrub your eraser REALLY hard you might get them, but this could happen to your ink:
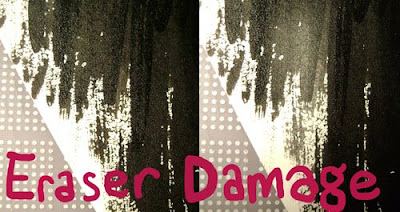
Obviously if this sort of damage happened to a delicately rendered face or some really fine dry brushing, it could irreparably ruin the drawing.
You could leave the pencils in and clean them up in photoshop, but depending on the way you scan that could ruin your art just as much.
If you have a style that uses thick, bold, black lines, doesn't rely on fine detail, and your ink is nice and solid black, you could probably just scan your art on the threshhold setting and most of the pencil would disappear, and what was left would be easily erased. My friend Joe never frets his pencils much that that exact reason- of anything's left over, it'll disappear in the scan.
For myself and many others, it's not so simple. When you scan an image in threshhold,, or convert it into a bitmap on threshhold, the computer is deciding which pixels will be completely white and which will be completely black. If you have delicate hatching, which rarely scans as pure black because of it's thin delicacy, or if you have delicate drybrush effects, which are notoriously hard to scan in themselves, and then you have these grey pencil lines on the page, the computer will often decide that things you wanted black will be white.
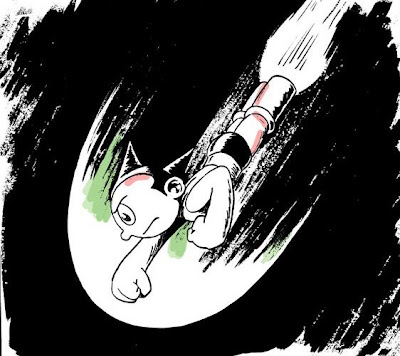
As you can see in the image below, the threshhold setting eliminated most of the pencil lines, the remnants of which are highlighted in pink. But it also obliterated large areas of drybrushing, as seen in the green areas. And the computer also decided that alof of areas that looked black on my original are now white, because they weren't as dark as the darkest of my pencils. The result is printable, but not at all what I wanted.
 I never scan in threshhold when I'm using delicate drybrushing. I don't think the computer is as qualified as I am to know what I want black and what I want white, and I'd rather decide myself. But having stray pencil lines can make that process very difficult. Sure, now I can save my drybrushing, but in the process I end up making the pencils black and clear along with my ink. The result is a messy image speckled with little dots called "artifacts" which drive careful editors insane, and black pencil lines that are now going to be very hard to clean up indeed:
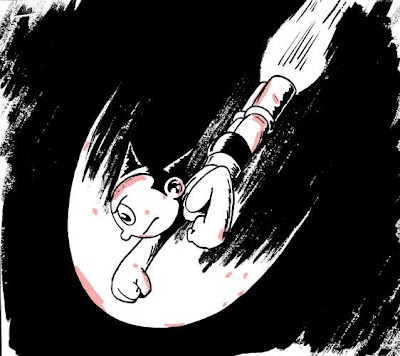
It's clear that the solution is to get your page as clean as you can BEFORE you scan the page, to make life easier on everyone. And if you have these carved in lines, there's still hope for you. You just need a little strategy:
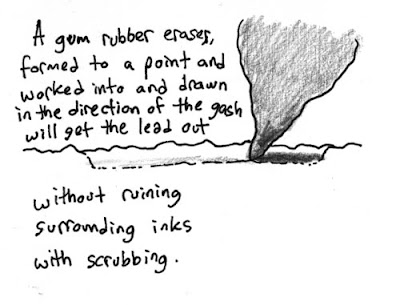 When you do this, you want to actually re-draw the line, like you're tracing it, but with the eraser. Get the eraser as far into the line as you can, and really work it around. It's like washing stuck-on food- you may need to take some time, but it will come up. It might not come all the way, but if you can get it light enough so that it's lighter than any of the ink that's almost good enough. Here you can see the results:
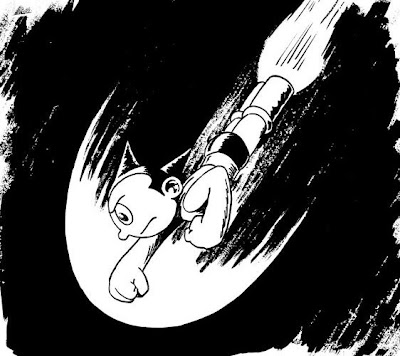
 And now here's the same drawing, fully erased this time, and as you can see I was able to get my dry brushing to look just how I wanted, and without having to do any digital cleanup at all. Taking the time to pencil lightly and erase well saves me and others a lot of headache at the computer.
 Next week: Printed Lettering Guides