This week: What is this thing, and what do I do with it?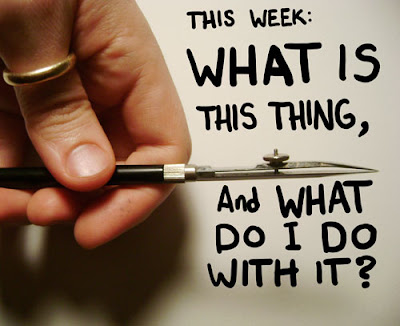
Comic Tools reader Stephen emailed me saying that his girlfriend has bought him a ruling pen (good girlfriend), and he was wondering what it was and what do you do with it.
A ruling pen is a very old-fashioned precision drafting tool. It it one of the tools that allowed illustrators and letterers to create the kind of super-precise drawings that people now use illustrator to create. Think stuff like the Sears and Robuck catalogue.
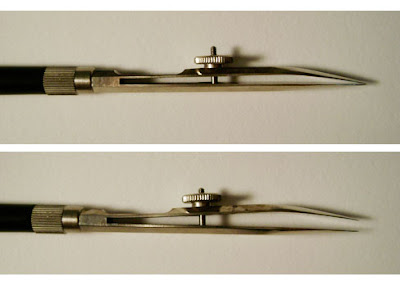
A ruling pen is basically a two-pronged fork of metal with a screw that allows you to bend the points closer together or farther apart.
To use the pen you dip it into ink about half an inch deep and then lift it out,
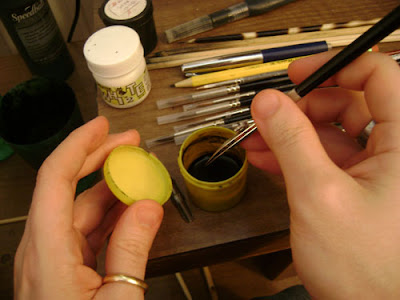
Which will leave you with a very sizable bead if ink in between the prongs. The ink is held between the prongs by surface tension, and as long as you don't sharply hit the ruling pen it will stay there. Being able to hold so much ink at once means you can draw an insane amount of lines before you need to dip the ruling pen again.

After you've dipped the ruling pen, you need to wipe the ink off the outsides of the pen's forks, or else it will crust on or smear where it's not wanted. I like using a folded up paper towel. You must be careful NOT to allow the ink inside the pen to touch the paper towel or it will suck up your entire load of ink.

Ruling pens aren't generally used as a freehand drawing tool- they excel at precise ruling of straight lines and curves. Whether you're using a ruler or a French curve or a triangle, you need something that has a beveled or elevated edge. If your ruler lies flat on the page then the ink will get sucked right under the ruler and spread. An elevated edge insures this won't happen. I have two elevated rulers, one with cork backing and one with foam rubber. I prefer the foam rubber because it has some traction and stays put even on an inclined drafting table.

If your tool isn't beveled or elevated, you can tape pennies onto the bottom to raise it up.
To use the pen with a ruler or French curve, simply adjust the pen to the line width you want and draw against the edge of the ruler.
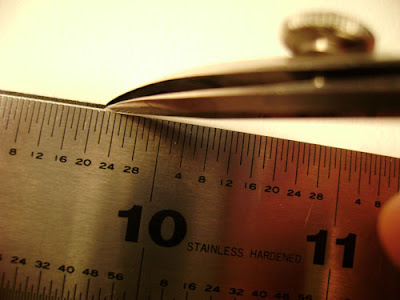
Ruling pens will draw for a crazy amount of time with thin lines, but as you can see in the picture below (click to enlarge), the thicker you go the faster you use up ink. However, you can get around this problem (and draw a razor-straight line of any, literally ANY width) just by drawing two parallel straight thin lines and then filling in between them with a brush, or even digitally later.

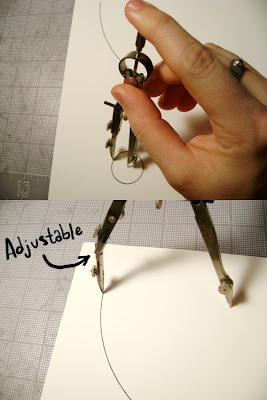
Old drafting tool sets also come with ruling pen attachments for their compasses, allowing you to ink the circles you've drawn with a totally even, uniform line. (which again, can be literally ANY width at all, by making two small lines and filling between them)
As you can see below, my ruling pen attachment has an adjustable joint to keep the ruling pen straight up and down with the paper, ensuring both prongs are always touching the page.
Next week: Tiny metal ball


